Today I learned the term Data Piggy.
A tech sector Venture Capitalist who stuffs their little piggy faces on people’s private information until their little piggie overall buttons pop off their engorged little piggy bodies.
Seems incredibly useful. 👍
Gripping read about one of the first women hackers, by Claire Evans for The Verge. I read this years ago, and only now getting around to sharing it.
In the ’80s, Susan Headley ran with the best of them—phone phreakers, social engineers, and the most notorious computer hackers of the era. Then she disappeared.
Vim Macro Trickz by Hillel Wayne is just that. For the vimthusiasts.
I found this conceptually sprawling UX article in the depths of my reading list. It’s several years old, so you may spot an outdated reference or two, but the points are still salient.
The Future is Analog (if you can afford it), by Maroussia Lévesque, explores the “analog privilege” of economic elites to escape the automation and A.I. they apply to everyone else.
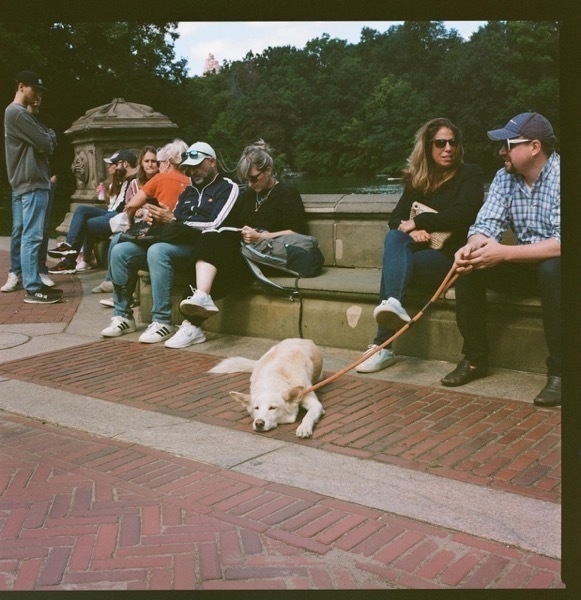
I spent last Sunday in Central Park with my friend Lindsay, playing with her medium format film camera. She taught me how to focus, the F-stop, the focal range, and even got to peak inside and see how the entirely mechanical apparatus worked. So satisfyingly tactile. Thanks Lindsay!


Taking gruvbox for a spin today for the first time in years. I’m digging it.
leading-trim is dope, y’all. Can’t wait for it to ship.
Leading-Trim: The Future of Digital Typesetting by Ethan Wang.
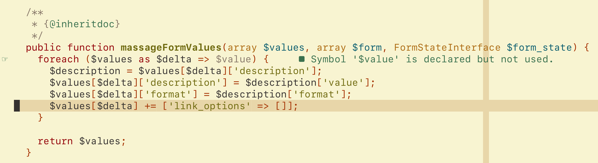
I couldn’t find a browsable list of valid Drupal core values for #type fields in render arrays. I just wanted to know what was possible in one place. Andy Blum’s Drupal Smart …
Read more
Hot take: the <dl> element is underused.
TIL that the CSS relative color spec says that currentColor is supported, but no browser supports it. Sad times.
Couldn’t agree more with not blindly following data.
TIL that in JavaScript, non-strict mode is called sloppy mode.
After seven months, I have the router, pi-hole ad-blocker, and media server setup. ⌛️🤓
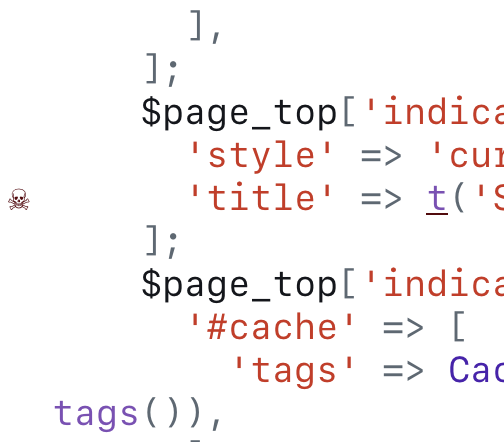
I configured my Neovim LSP error symbol to a skull and cross bones, so now whenever I write bad code I feel like a pirate. 🏴☠️
TIL guthub.com redirects to github.com. I’m sad it isn’t a recipe site.
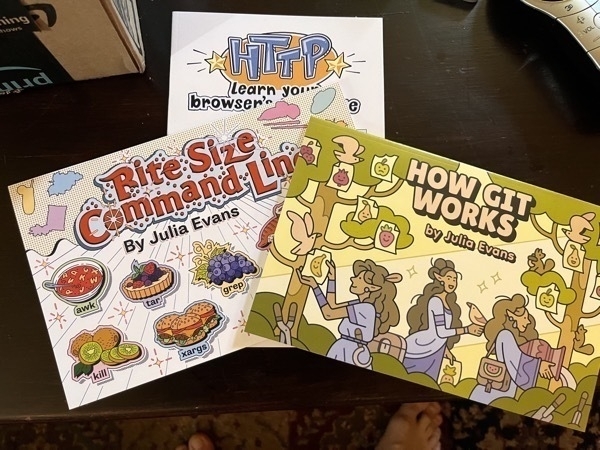
Just got my zines from Julia Evans. Very excited to dig in.
I gave a short presentation on CSS Subgrid last night at the Astoria Tech Meetup. Lots of good conversations afterwards. Thanks to everyone who came out!
TIL MLP. Instead of MVP, the Minimum Viable Product, it’s the Minimum Lovable Product. I like that.
Getting my ass whipped at Magic: The Gathering at friendly local draft. The game has changed a lot in twenty years (who’d have thought?). Lots of fun still.
Today is my second anniversary working for Lullabot. Joining the team is still one of the best decisions I’ve made. 😴🤖
TIL about the CSS cap unit, which is equal to the current font’s capital letter height.
It took me a while to figure out why LSP was reporting describe was not a valid method of string.
const id = label.toLowerCase().replaceAll(' ', '-').
describe('DisabledField', () => {
One liner to open all git modified files in your editor. Substitute nvim with your-editor; statistically code.
git status -s | awk '{print $2}' | xargs nvim
I ordered 3 of Julia Evans zines.
- How git works
- Bite Size Command Line
- HTTP: Learn your browser’s language
I have the PDFs, but waiting to read the physicals. Very excited.